

I recently had the opportunity to make my very first Treacle Tart to celebrate July 4, 1862 – the very day that Lewis Carroll set pen to paper and began to write Alice’s Adventures in Wonderland. Not surprisingly, I chose Mary Berry’s own recipe – except I tweaked it just a little. (I do hope you’ll overlook such impertinence, Mary Berry!)
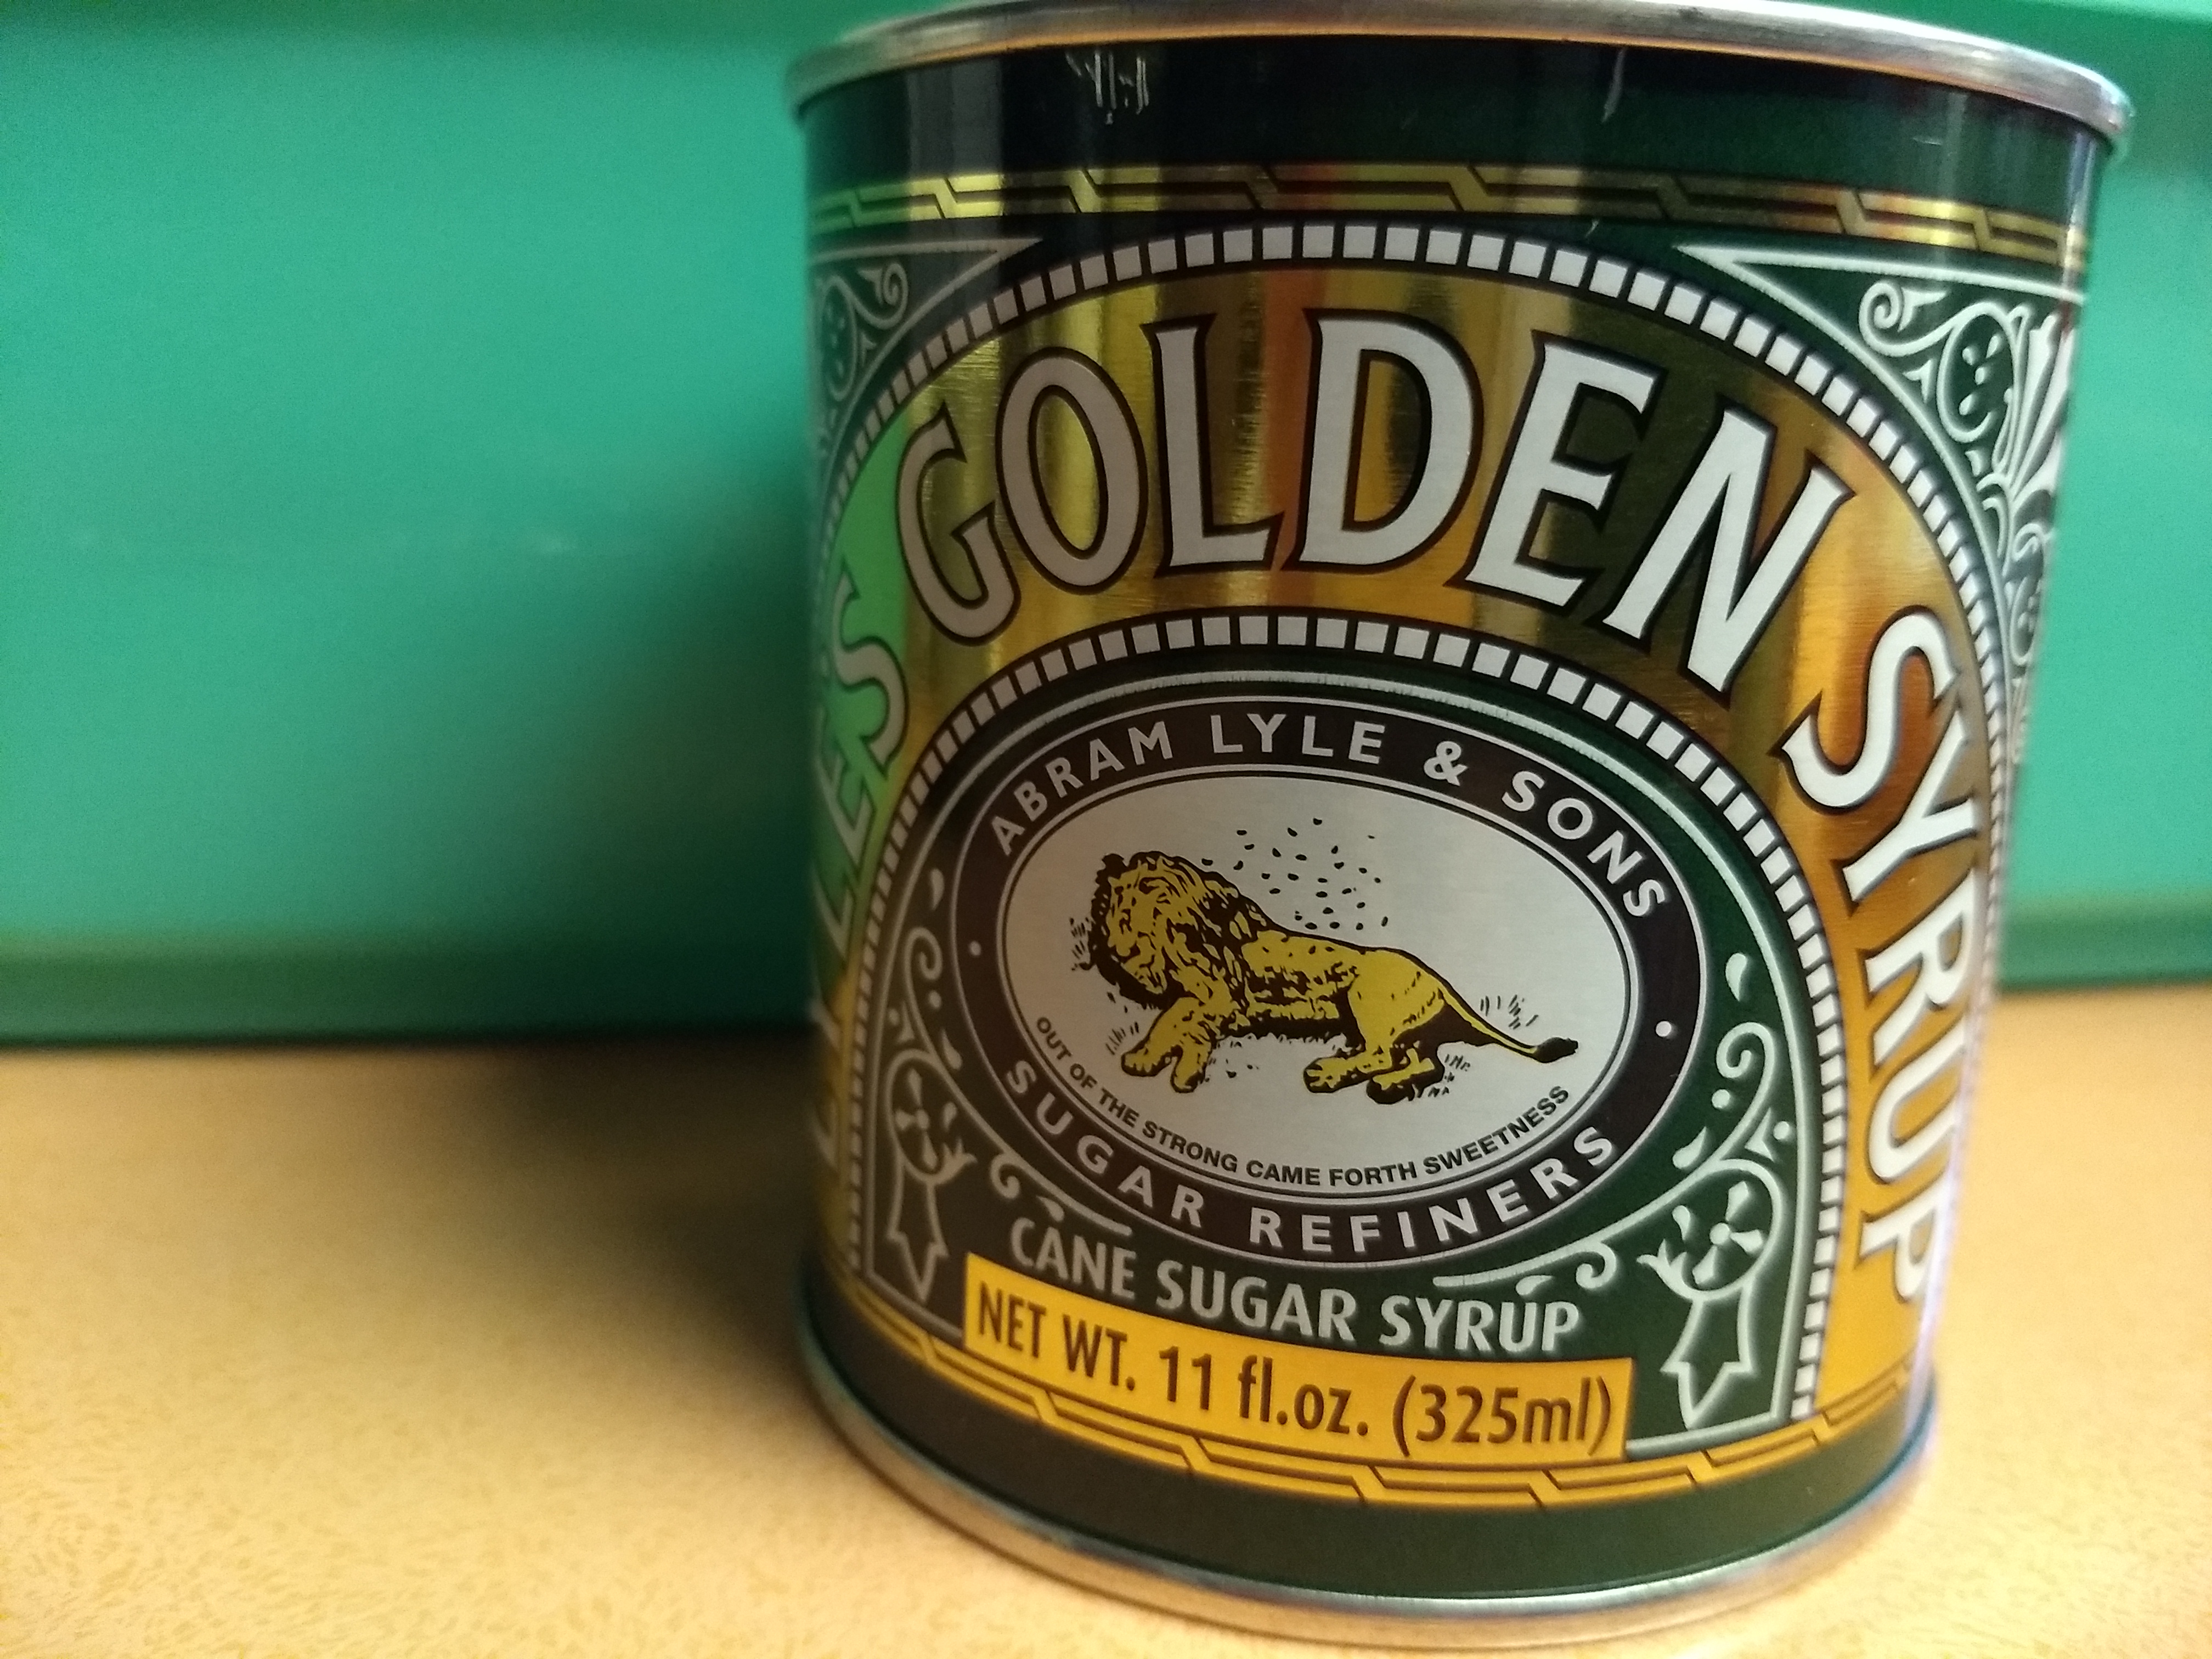
Her recipe called for a 14-ounce can of Lyle’s Golden Syrup, but here in the Midwest I could only find 11-ounce cans. Her tart pan diameter was 7-inches – I have only 11-inch diameter tart pans. And so the number crunching began, but as usual, I ended up playing it by ear. I did try to pay attention to the quantities, but even Mary Berry suggests we adjust the amount of bread crumbs to thickness and the lemon to taste, so a little vagueness might be forgiven. Oh and a familiar but important hint – any work that is required for this recipe is in the prep – be that the pie crust, the fine milling of bread crumbs, the grating and juicing of lemons, or the second crust that will become a lattice top.
That being said and without further ado, here is the recipe that certain Friends and family tasted and approved. I hope you, too will enjoy the lemony freshness and the flaky crust. Please be sure to let me know what you thought of the tart as well as what, if anything, you tweaked – and if you’ll be making it again.
Enjoy!
Mary Berry’s (pretty much) Treacle Tart
The following quantities filled two 11″ diameter tart pans.
- 1 1/4 cups finely processed fresh bread crumbs
- 4 good sized organic – not waxed – lemons for zest and juice
- 3 11-oz cans Lyle Golden Syrup
- Pastry crust for two 2-crust tarts * see note below
- 1 fresh egg, beaten for egg wash
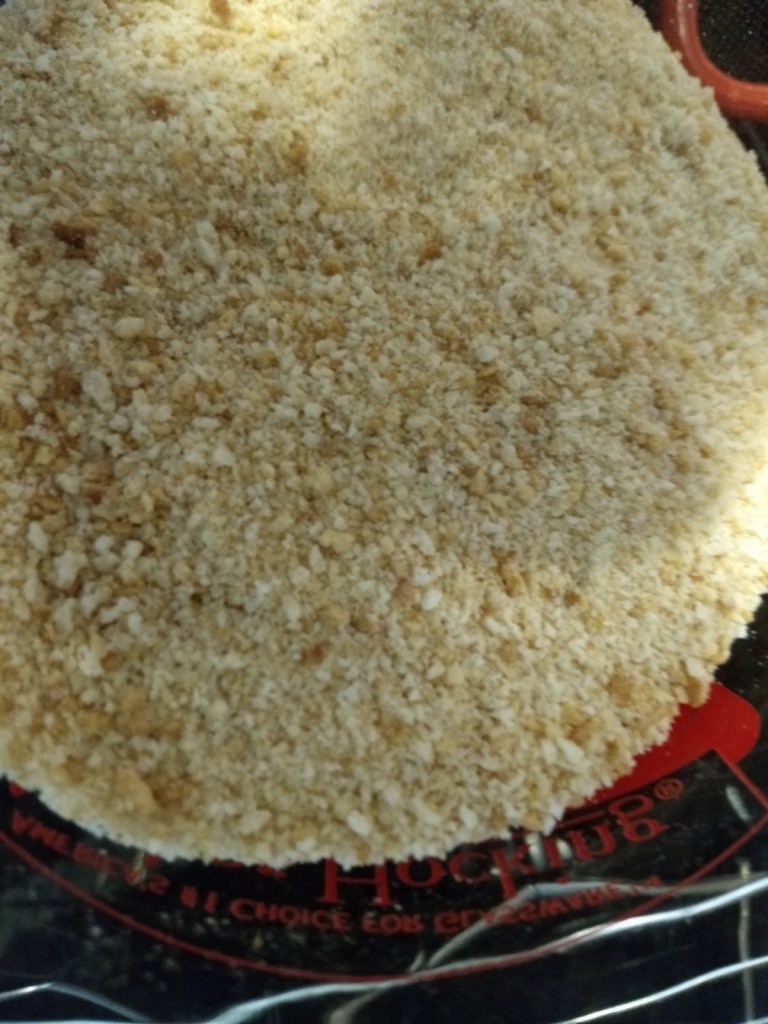
Slice one (approximately 16 oz) French or Italian loaf of fresh bread. Place on cookie sheet in 350*F oven for about 20 minutes. Check often and turn slices to allow for even drying. The idea is to dry, not necessarily toast the bread, although a little golden crust makes for a nice flavor. Remove from oven and cool enough to finely process enough bread to equal a bit more than 1 cup of bread crumbs. Set aside.
Wash and roll the lemons. By applying gentle pressure to the whole lemon while rolling on the counter, you can increase the amount of juice released in the later step. After rolling, zest all four lemons. When grating or zesting the lemons, be wary of the white layer (the pith) below the skin. This is terribly bitter and too much in pie, cookies or cake can make for a rather unpleasant experience.
After zesting, halve the lemons and squeeze as much juice as possible from all halves. Be sure to remove all of the seeds from the juice. I use a vintage glass juicer, so after juicing each half, I can easily see and remove any seeds that have fallen into the liquid – but I never remove the pulp. Feel free to combine the zest and juice, then set aside.

Using your favorite pie crust recipe – or grocery store variety – roll out two 14″ diameter crusts between sheets of parchment paper, working with one crust at a time. Make each crust rather thin. I used a brand name crust from the dairy section and each crust rolled out perfectly to 13 – 14″. They were thin, but remained sturdy enough to maneuver into the tart pans. Use a fork to poke holes into the bottom crust. Set aside.
For the top crusts, working with only one rolled-out crust at a time, place the dough on a sheet of parchment paper – or waxed paper, come to think of it. Brush each crust lightly with whole egg wash. Do not cut the crust into strips yet. Layer the freshly egg-washed crusts between waxed or parchment paper and place in fridge.
*Note – I never have enough room in my fridge when I need it, so I placed freezer packs in our good-sized microwave and gently placed the pie crusts inside until it was time to fill and top the tarts.
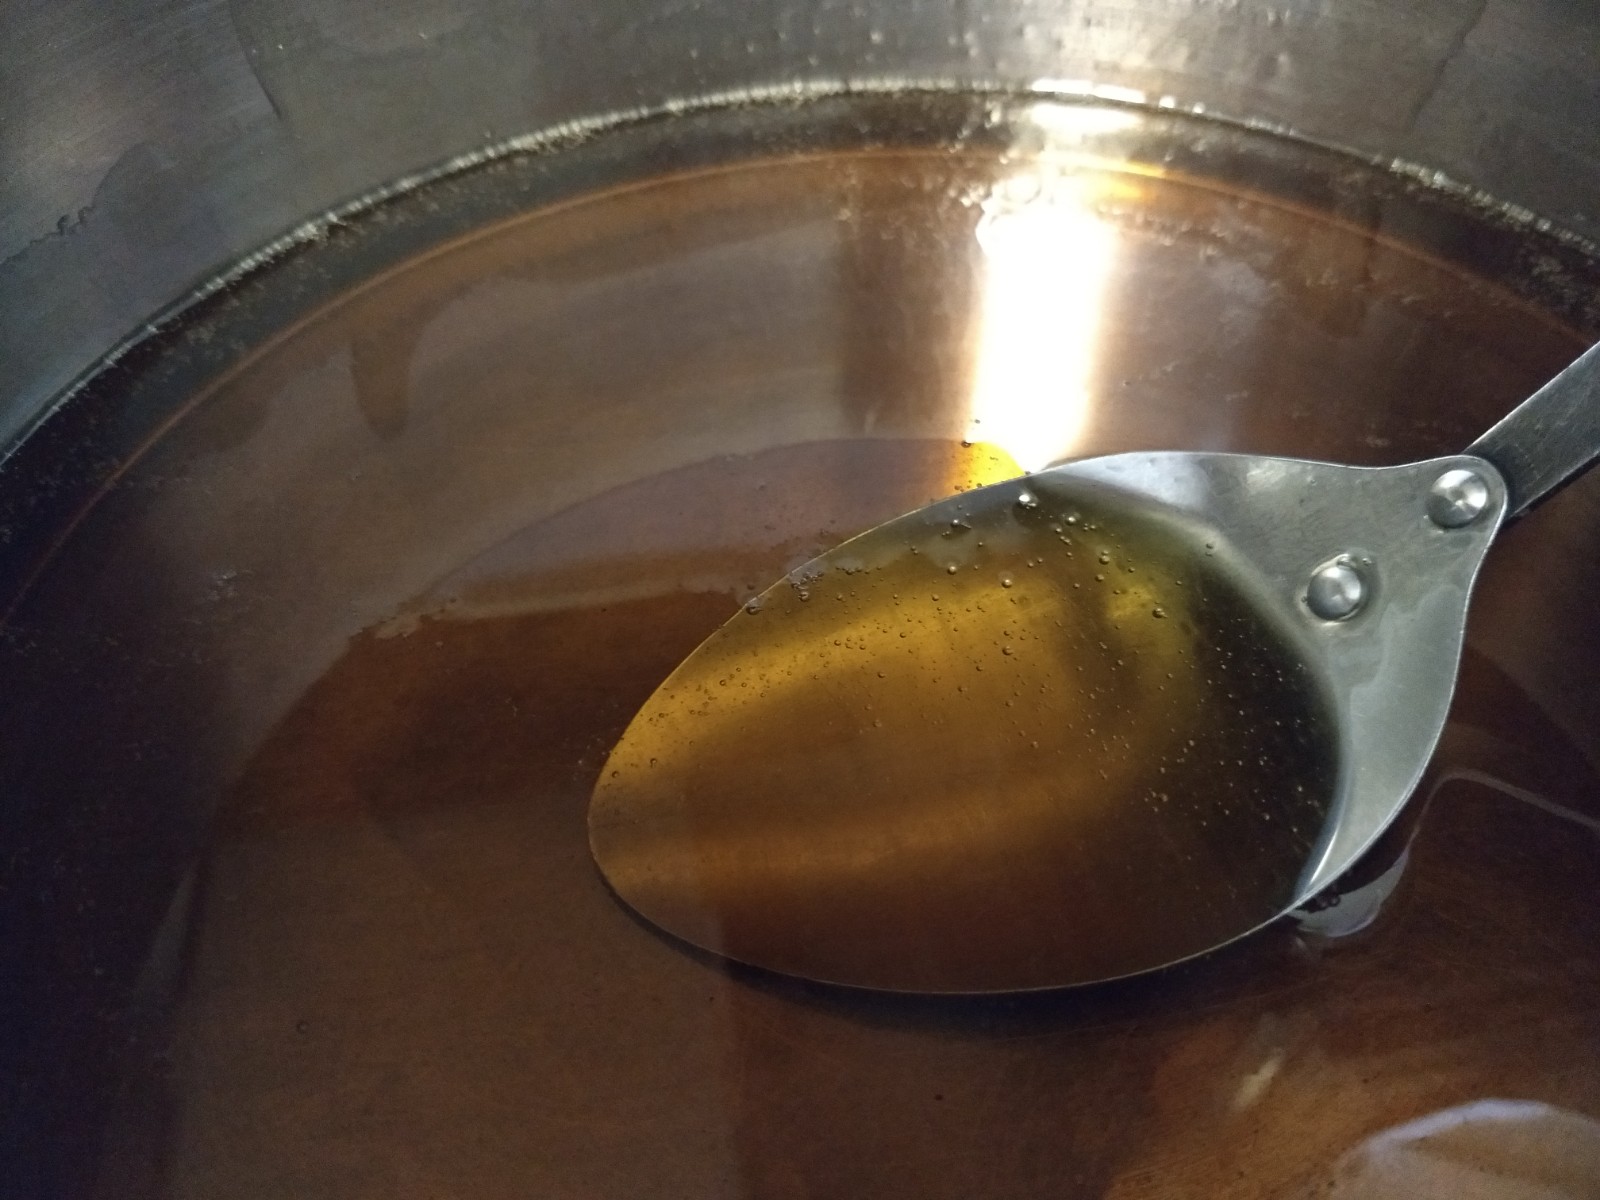
Now that the preliminary work is done, it’s time to focus on the filling. In a large pan, gently heat the syrup that you poured and scraped from all three cans. Heat over low-medium heat. Do not boil the syrup. When it is runny – you will be able to tell the difference as you slowly stir it – add the lemon juice and zest. Stir to combine.
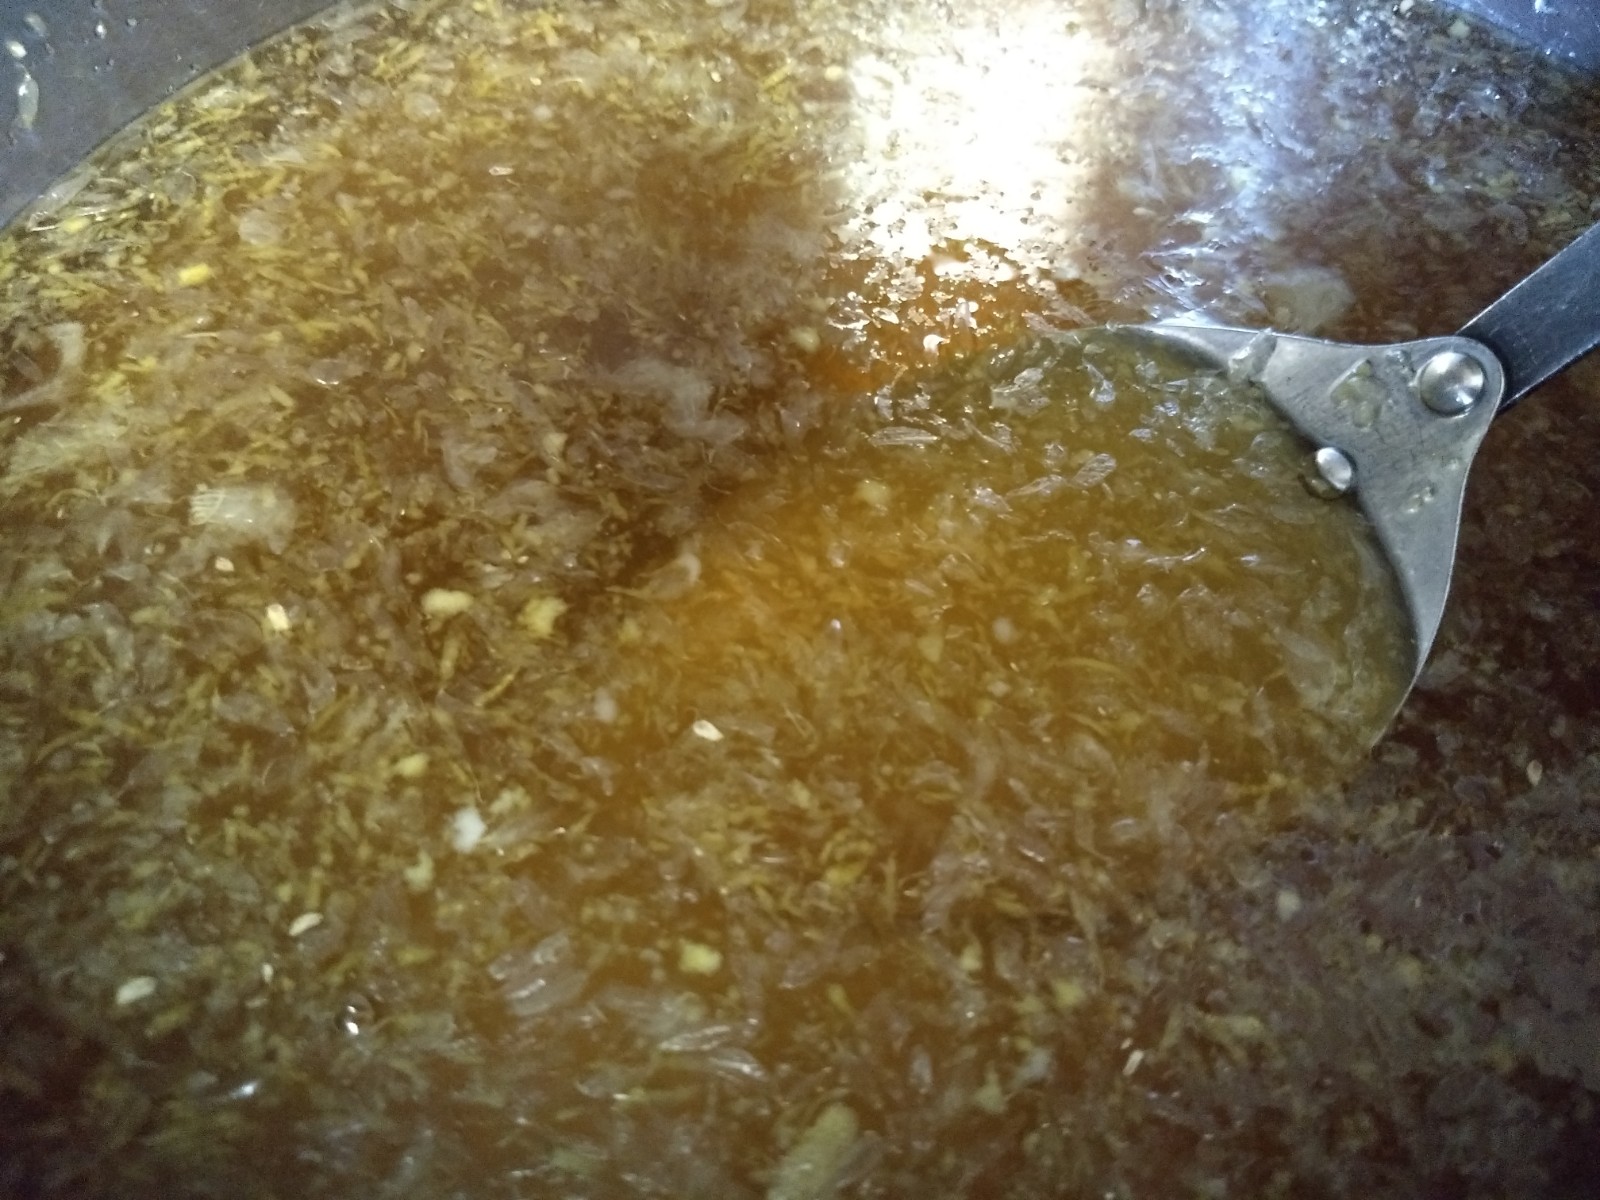
Now it is time to lower the temp to low and add the bread crumbs. Pour in about 2/3 of your total quantity. Stir the mixture and add more if necessary. I had used very juicy, fresh lemons, so I ended up using one and a quarter cups – maybe a touch more – bread crumbs. You want the mixture to look like gruel – not porridge. I stirred the filling gently over low heat for just a few minutes – long enough for it all to combine nicely.
Very carefully ladle or pour equal parts filling into each prepared tart pan. Set aside. Preheat the oven to 350*F
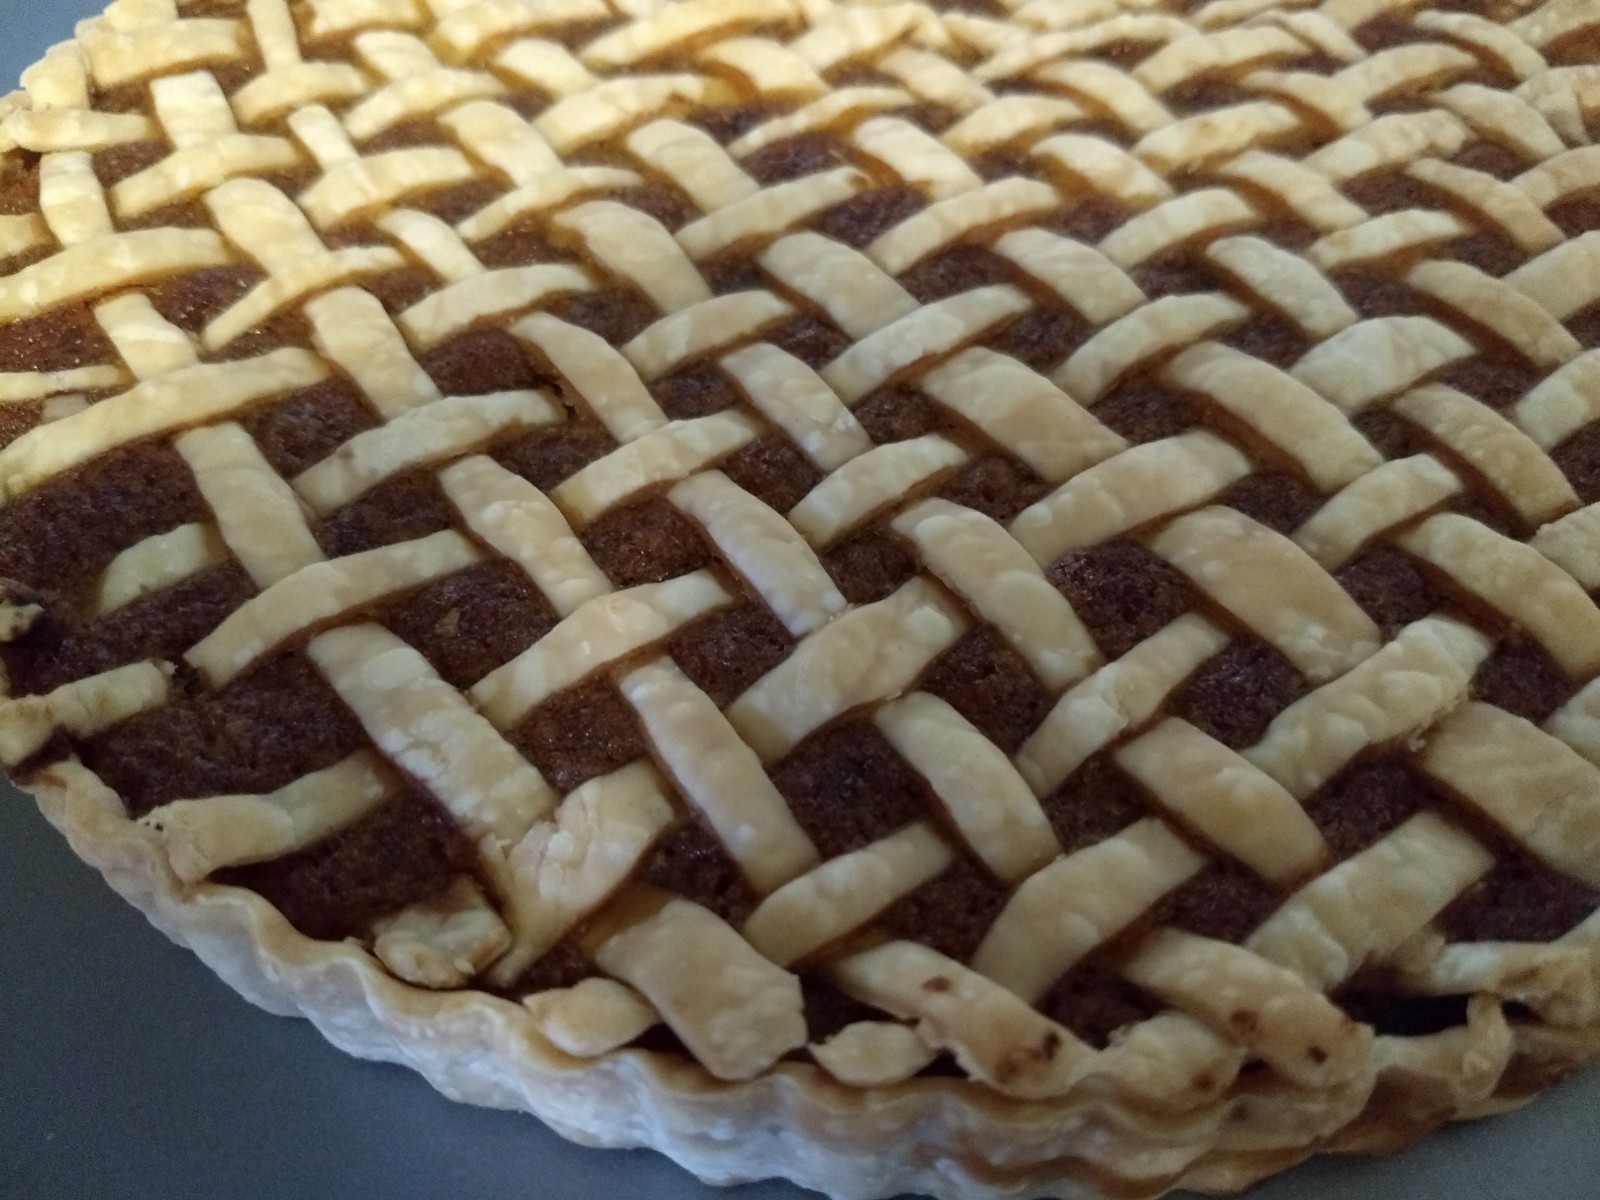
Now it’s time to prepare the lattice top for the tarts. Work with only one crust at a time unless you are a pro at weaving dough while juggling. Lattice work isn’t difficult at all – but you will need to pay attention to which strip is up, which is down.
Laying your crust on a flat surface with the egg-wash side facing up, cut the dough into strips (1/4 or 1/2″ thick). Do not remove the strips until all of the cutting is done. Carefully peel and set aside every other strip – being sure to keep the egg-side up. Beginning on the far left or right of the crust, weave the longest strip through the center of the remaining strips, alternating the position of the strip – over, under, over, under. Continue to do this with every strip, working from the center and out.

When the dough has been woven into a lattice pattern, cover with parchment or waxed paper and flip upside down. Lift the now paper-sandwiched lattice with one hand/arm and peel back only one-half of the top non-egg-washed- side paper. Flip and place the dough onto the filled pie using the center of the pan as the starting point and keeping the egg-wash side up, then carefully unpeel and place the second half of the lattice onto the second half of the filled pie. Remove the remaining top layer of paper. Press the dough across the fluted top edge of the tart pan, discarding any excess. Repeat with the second crust.
Place each lattice-topped tart pan on a cookie/baking sheet. Mary Berry suggests we preheat the sheet prior to placing the unbaked tart on it, but I didn’t do that with the first tart. I did use the hot baking sheet with the second tart, but didn’t notice a difference in the bake.
I popped each tart into a 350*F oven for 40 minutes and 50 minutes, respectively. Mary Berry’s recipe calls for a 400*F oven for the first 10 minutes, check for browning and top with aluminum foil if needed, then continue to bake the tart for another 25-30 minutes at 350*F – or until golden brown on top with a set-filling. Use your own judgement – I am no Mary Berry, so am inclined to follow her lead on this, but I was multitasking while baking these tarts and didn’t take the chance I might miss that 400* 10 minute deadline. Burnt tarts are to be avoided at all costs!
Serve small slices of the lemony and refreshing, not too sweet tart either warm or chilled. I offered ice cream or freshly whipped cream to my tasters, but no one thought anything more was needed. It was described as refreshing, lemony, rich and delicious – so that was a relief! I hope you and your fellow foodies like it at least as much!
Happy Baking!!

This looks wonderful!! 🙂 I really love the tip about gently pressing the lemon to get more juice. Alice in Wonderland in beautiful action!
Have a great weekend. Thanks for the recipe.
Blessings,
Debbie
LikeLike
Hello Debbie,
It’s such a simple but effective way to garner more juice from lemons, limes, oranges, etc. And I should have mentioned that I always work with room temperature citrus – even warming the fruit in my hands or running it under hot water briefly to encourage the oils and juices to release. Oh, what a lovely fragrance!
Alice in Wonderland in beautiful action – isn’t that a great John Tenniel visual? http://www.alice-in-wonderland.net/resources/background/tenniel-and-his-illustrations/
Thank you – and I hope you enjoy your weekend, too!
LikeLike